Nginx入门学习
»其他目录
在Linux系统下安装nginx
- 安装第三方环境
- 安装gcc环境 yum install gcc-c++
- 安装第三方开发包
- yum install -y pcre pcre-devel
- yum install -y zlib zlib-devel
- yum install -y openssl openssl-devel
- 将
nginx源码包传到Linux中 - 解压缩
- 进入
nginx目录下使用configure命令创建makeFile文件./configure \ --prefix=/usr/local/nginx \ --pid-path=/var/run/nginx/nginx.pid \ --lock-path=/var/lock/nginx.lock \ --error-log-path=/var/log/nginx/error.log \ --http-log-path=/var/log/nginx/access.log \ --with-http_gzip_static_module \ --http-client-body-temp-path=/var/temp/nginx/client \ --http-proxy-temp-path=/var/temp/nginx/proxy \ --http-fastcgi-temp-path=/var/temp/nginx/fastcgi \ --http-uwsgi-temp-path=/var/temp/nginx/uwsgi \ --http-scgi-temp-path=/var/temp/nginx/scgi - 使用
make命令,然后使用make install命令,于是在/usr/local目录下出现一个nginx文件夹 cd /usr/local/nginx看到有三个文件夹- conf
- html
- sbin
- 进入
sbin文件夹,使用命令./nginx - 发现出现错误:
nginx: [emerg] mkdir() "/var/temp/nginx/client" failed (2: No such file or directory) - 使用命令创建文件目录:
mkdir /var/temp/nginx/clien -p - 再次执行
./nginx命令,成功,使用ps aux|grep nginx发现有两个进程表示成功。 - 使用
./nginx -s stop或./nginx -s quit停止nginx -
可以使用./nginx -s reload来刷新配置文件
至此,
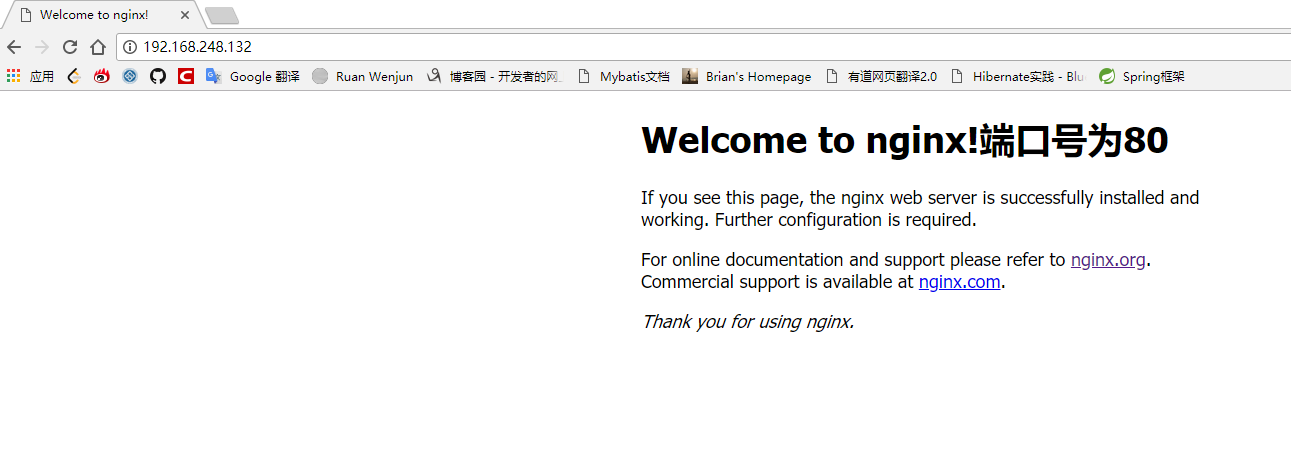
nginx安装完毕,可以在浏览器输入ip地址查看,默认端口号是80(前提是关闭了防火墙)
配置虚拟主机
通过端口号区分不同网站
实现效果:
浏览器输入同一个域名,但是后面的端口号不同,访问的网站也不同
实现步骤:
进入 nginx的conf目录下,有一个nginx.conf文件里面有一段配置
server {
        listen       80;
        server_name  localhost;

        #charset koi8-r;

        #access_log  logs/host.access.log  main;

        location / {
            root   html;
            index  index.html index.htm;
        }
    }
这里一个server节点就代表一个虚拟主机,其中listen是端口号,server_name是IP,root是访问的文件夹即conf同级目录下的html目录,index是访问的页面。
要想实现通过端口号访问不同的网站,即需要配置多个虚拟主机的节点,并且使端口号和location不同
,于是在下面加上如下配置
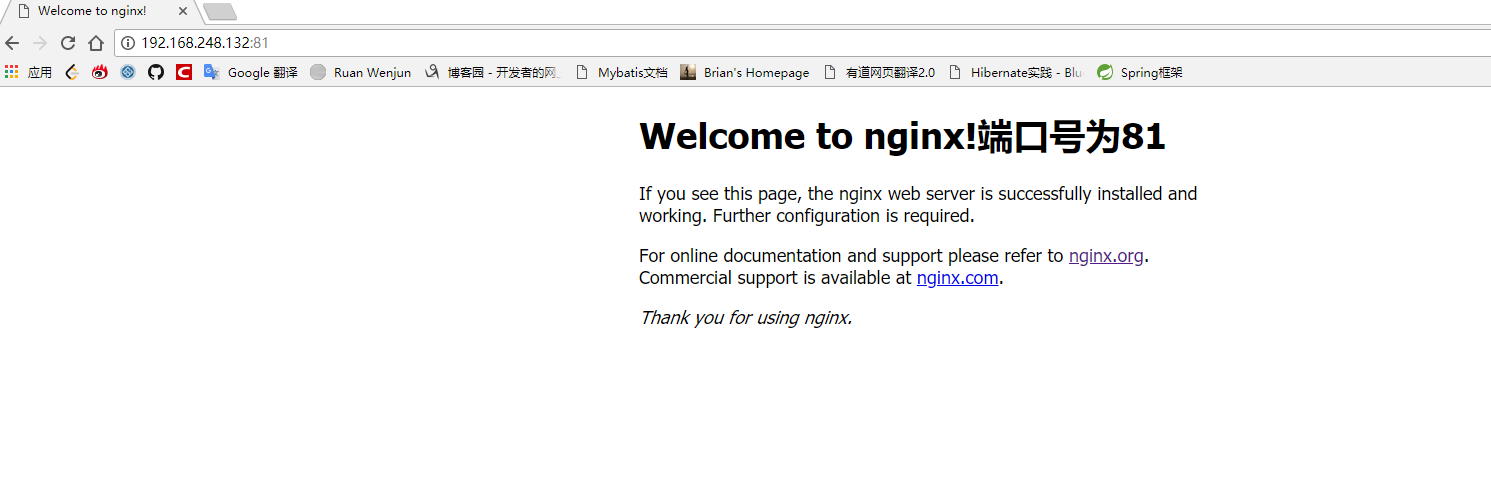
server {
        listen       81;
        server_name  localhost;

        #charset koi8-r;

        #access_log  logs/host.access.log  main;

        location / {
            root   html-81;
            index  index.html index.htm;
        }
    }
然后在nginx文件夹里面新增一个html-81的文件夹,可以通过直接复制原来的html文件夹,修改名字来简单实现
至此,实现了通过不同端口号来访问不同的虚拟主机
通过域名区分虚拟主机
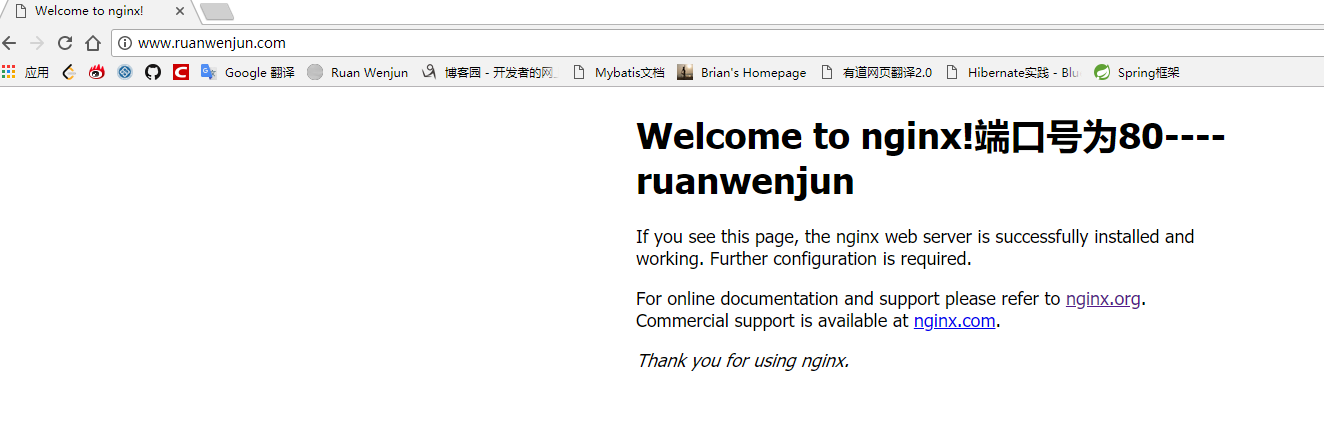
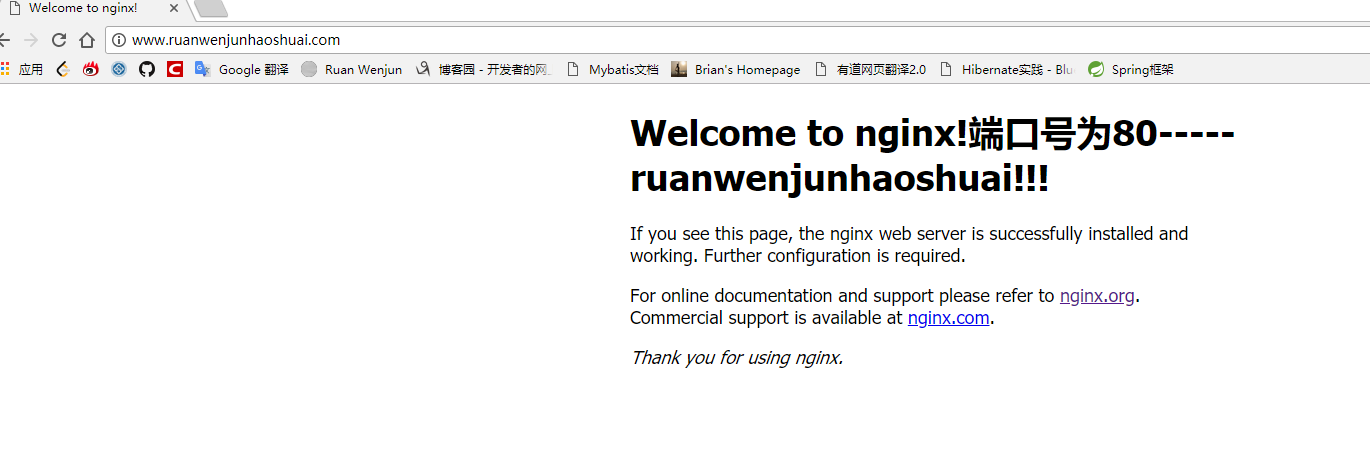
一个域名只可对应一个IP地址,多个域名可以绑定到同一个IP地址上面,例如通过www.ruanwenjun.com,
www.ruanwenjunhaoshuai.com可以访问同一个IP192.168.248.132,当然这上面两个域名实际上不是我的,不过可以这样理解。
实现效果:
通过不同的域名访问同一个nginx服务器,然后转到不同网站。
实现步骤:
- 因为没有域名,所以需要修改hosts文件来搞个假的域名映射,修改
C:\Windows\System32\drivers\etc路径下的hosts文件,在里面加入如下两行,那么在浏览器输入这两个域名的时候会访问192.168.248.132这个IP地址192.168.248.132 www.ruanwenjun.com 192.168.248.132 www.ruanwenjunhaoshuai.com - 然后修改
nginx.conf配置文件,在里面在加入两个节点server { listen 80; server_name www.ruanwenjun.com; location / { root html-ruanwenjun; index index.html index.htm; } error_page 500 502 503 504 /50x.html; location = /50x.html { root html; } } server { listen 80; server_name www.ruanwenjunhaoshuai.com; location / { root html-ruanwenjunhaoshuai; index index.html index.htm; } error_page 500 502 503 504 /50x.html; location = /50x.html { root html; } }然后创建那两个文件夹,这样在浏览器输入不同的域名访问的是同一个IP,但是最后访问的是不同网站。
至此,实现了为一个IP绑定多个域名,但是不同的域名访问不同的网站。
反向代理
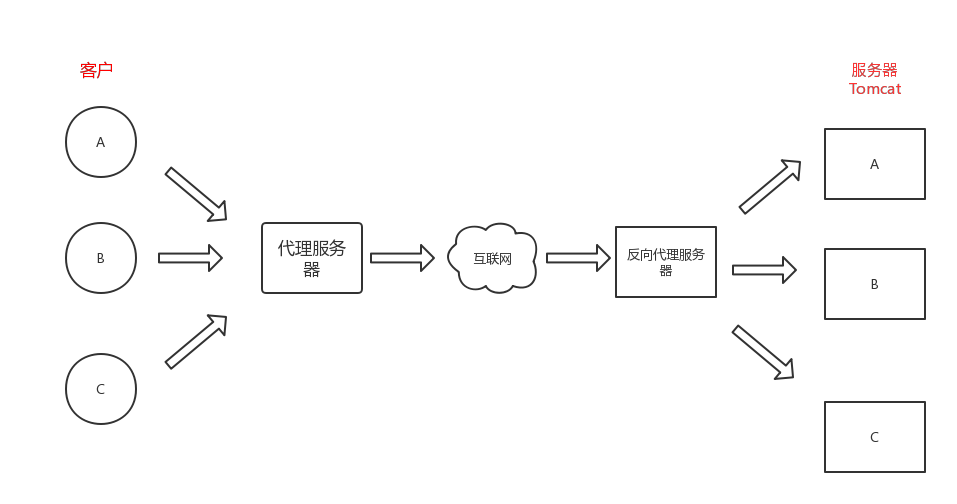
首先理解什么是正向代理?正向代理指的是,客户通过一个服务器来访问网络资源,那么此时这个服务器就是代理服务器,这个过程就是正向代理,代理服务器位于客户和网络之间。
反向代理指的是,网络传来的请求通过代理服务器转发到具体的内部服务器,反向代理服务器位于网络和内部网络的服务器之间,即反向代理服务器不处理请求,只是转发请求,决定将请求转发给哪台服务器
nginx实现反向代理
实现效果:
不同的域名访问同一个nginx服务器,然后nginx将不同的域名发来的请求转发到不同的tomcat,即发送不同的域名请求访问不同的Tomcat,但是实际上是通过同一个nginx转发
实现步骤:
- 配置两个
Tomcat,端口号分别为8080,8081- tomcat-01
- tomcat-02
- 启动两个
Tomcat - 修改
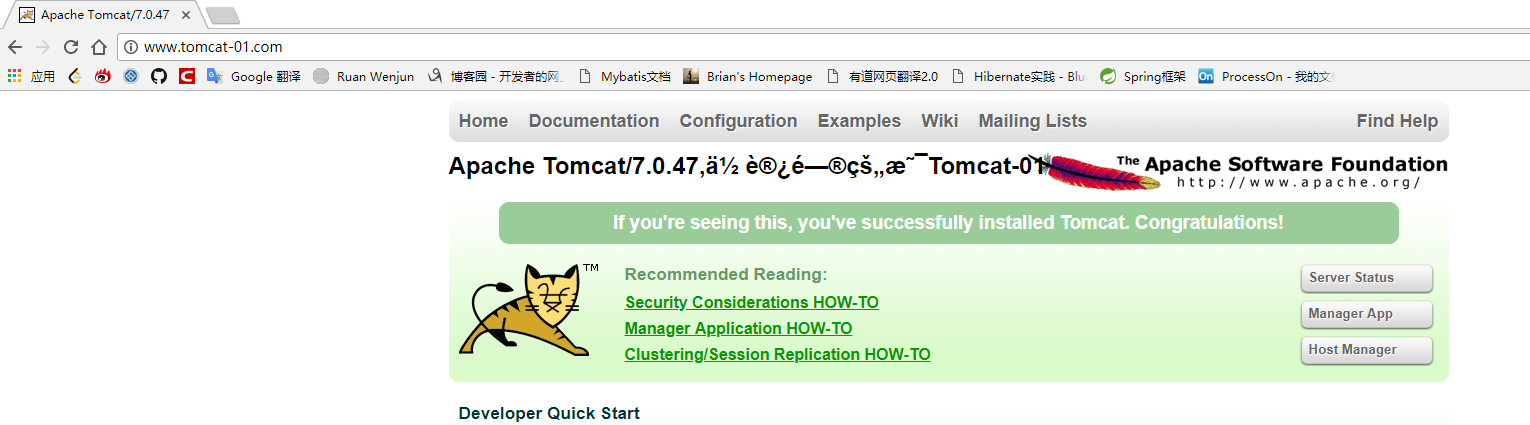
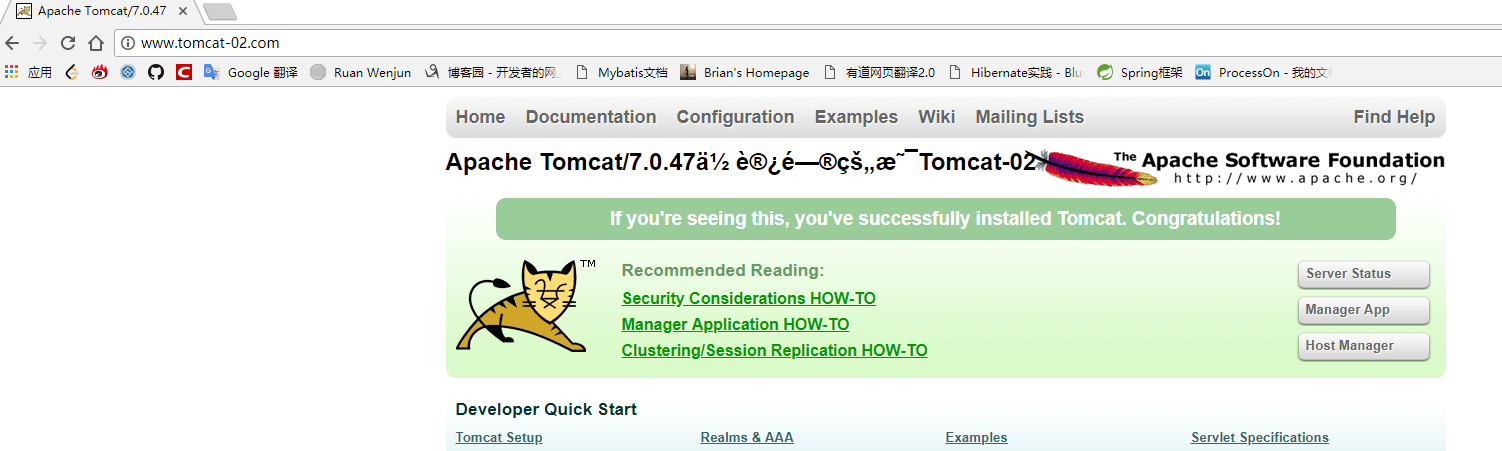
nginx.conf配置文件,配置反向代理服务器upstream tomcat-01 { server 192.168.248.132:8080; } server { listen 80; server_name www.tomcat-01.com; #charset koi8-r; #access_log logs/host.access.log main; location / { proxy_pass http://tomcat-01; index index.html index.htm; } } upstream tomcat-02 { server 192.168.248.132:8081; } server { listen 80; server_name www.tomcat-02.com; #charset koi8-r; #access_log logs/host.access.log main; location / { proxy_pass http://tomcat-02; index index.html index.htm; } }
即将 www.tomcat-01.com 的请求转发给 192.168.248.132:8080 ,将 www.tomcat-02.com 的请求转发给 192.168.248.132:8081
- 在
hosts文件中增加两个域名的映射192.168.248.132 www.tomcat-01.com 192.168.248.132 www.tomcat-02.com
利用nginx实现负载均衡
负载均衡只的是将同一请求分配给不同的服务器(这些服务器都是一样的可以响应这些请求,服务器集群)从而使服务器不至于因为请求太多而瘫痪。
修改nginx.conf文件的tomcat-02中的配置,增加一条server 192.168.248.132:8080;
即实现对tomcat-02的请求分配给下面两个实际的服务器,后面还可加一个权重weight=2,3,。。。,权重越高分配的请求越多。
upstream tomcat-02 {
	server 192.168.248.132:8081;
	server 192.168.248.132:8080;
}
这样在访问www.tomcat-02.com的时候会将请求均匀分配给上面配置的两个服务器,即有ngnix来实现了负载均衡